
Last updated November 21, 2026
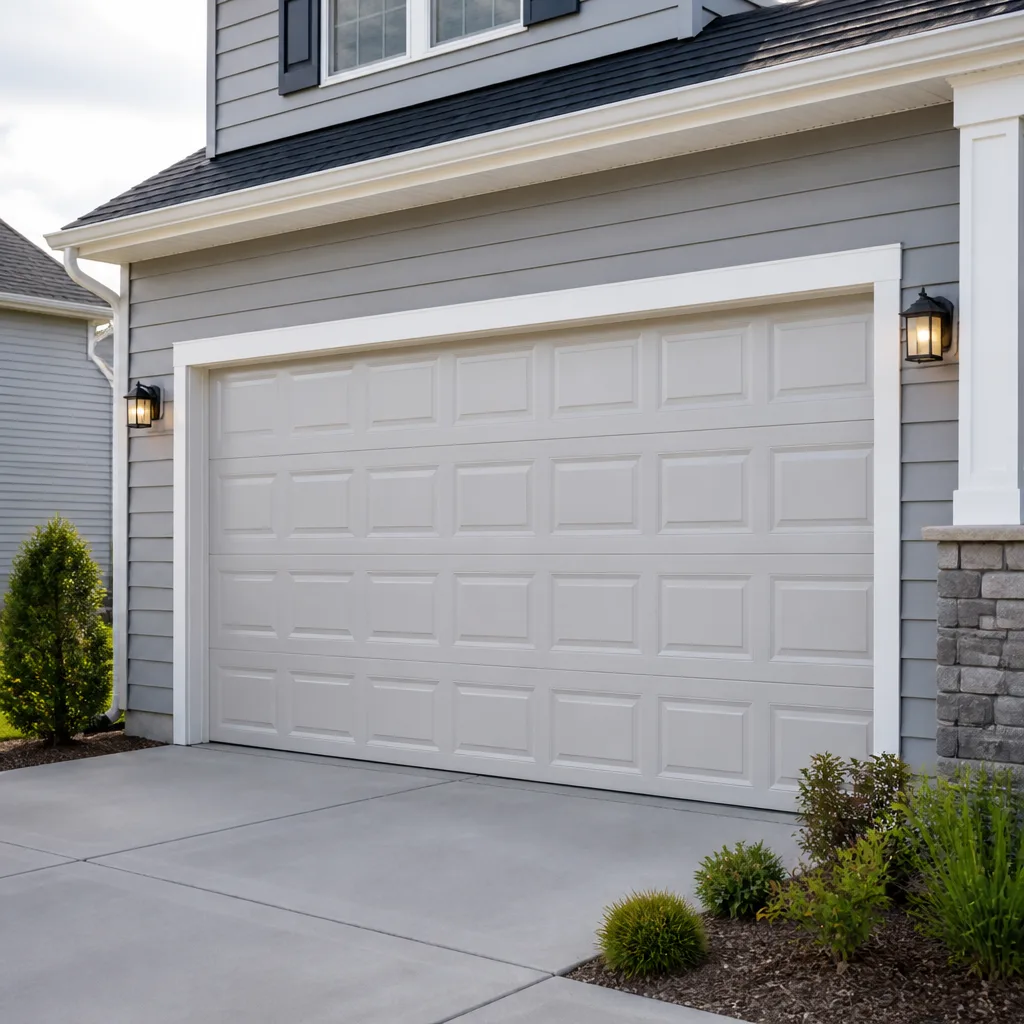 Raised-panel steel
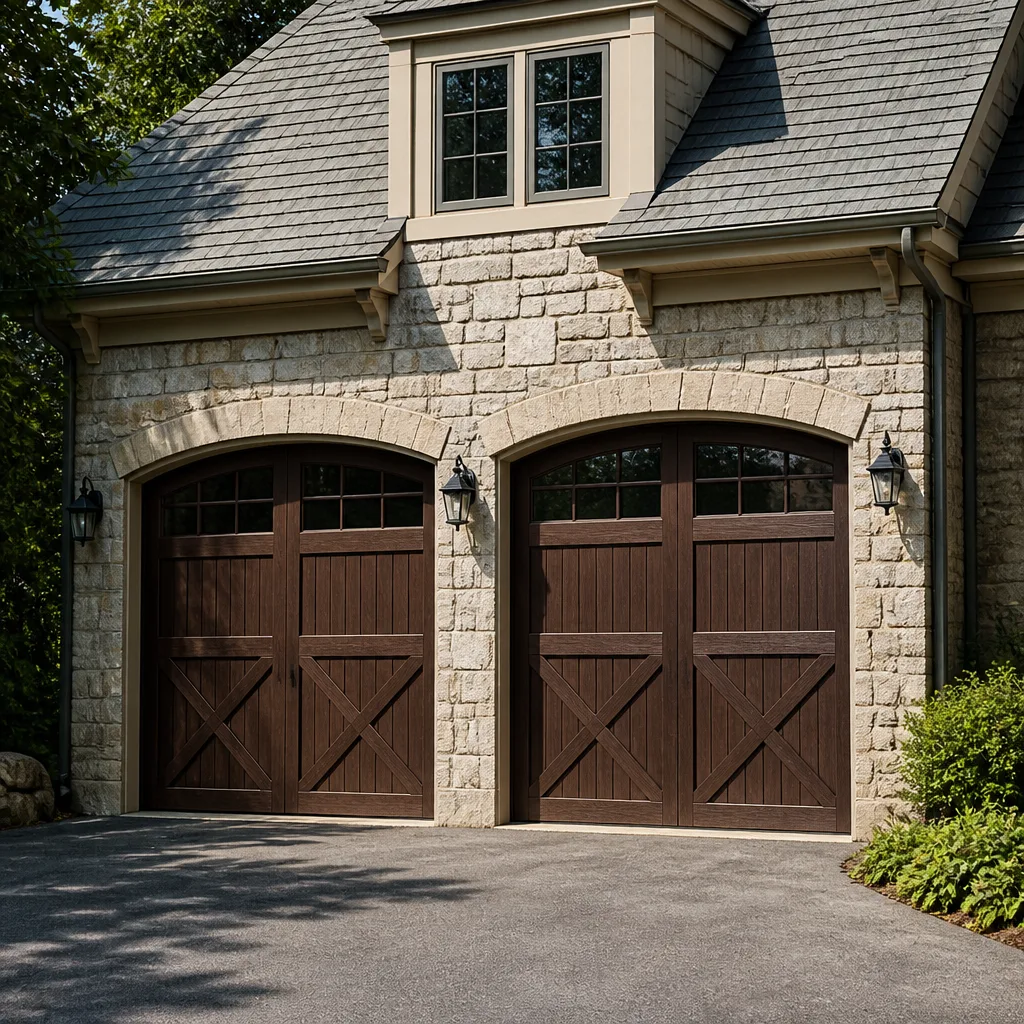 Carriage house
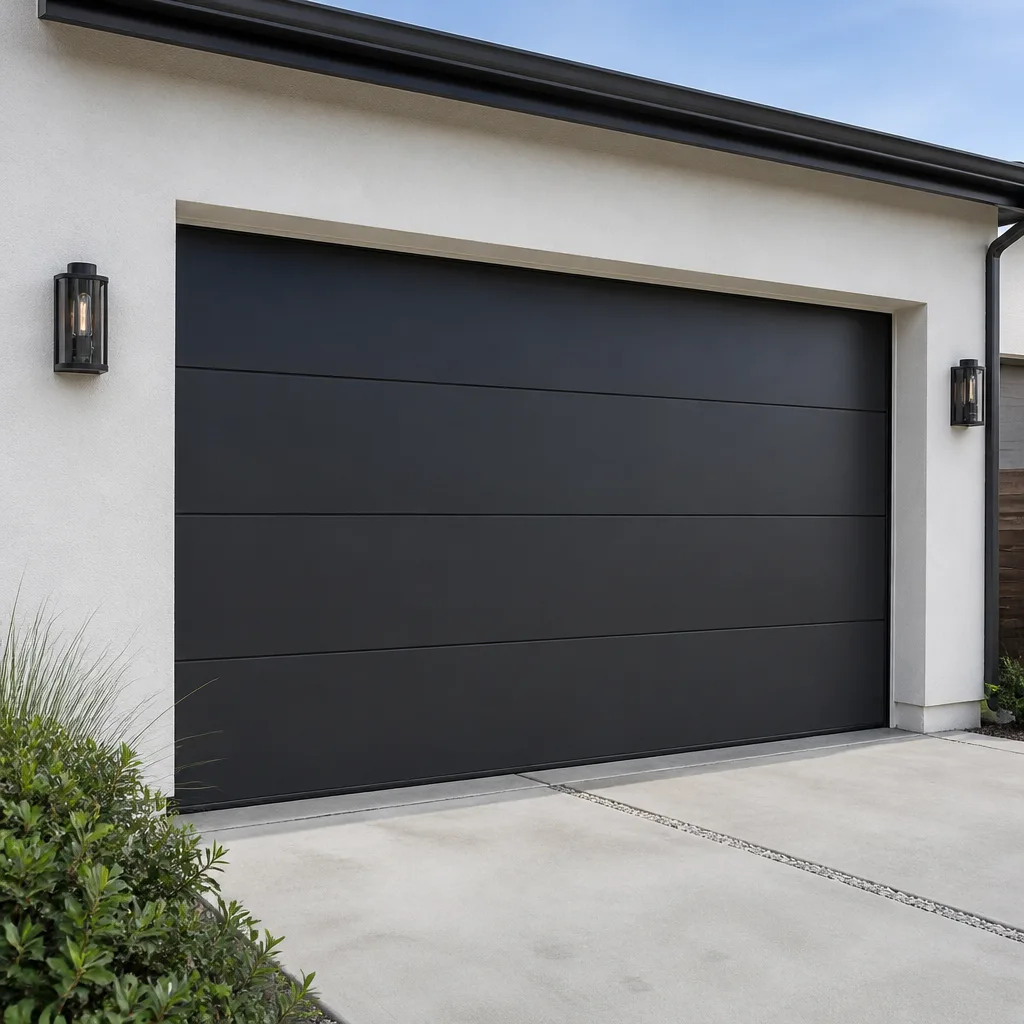 Modern flush
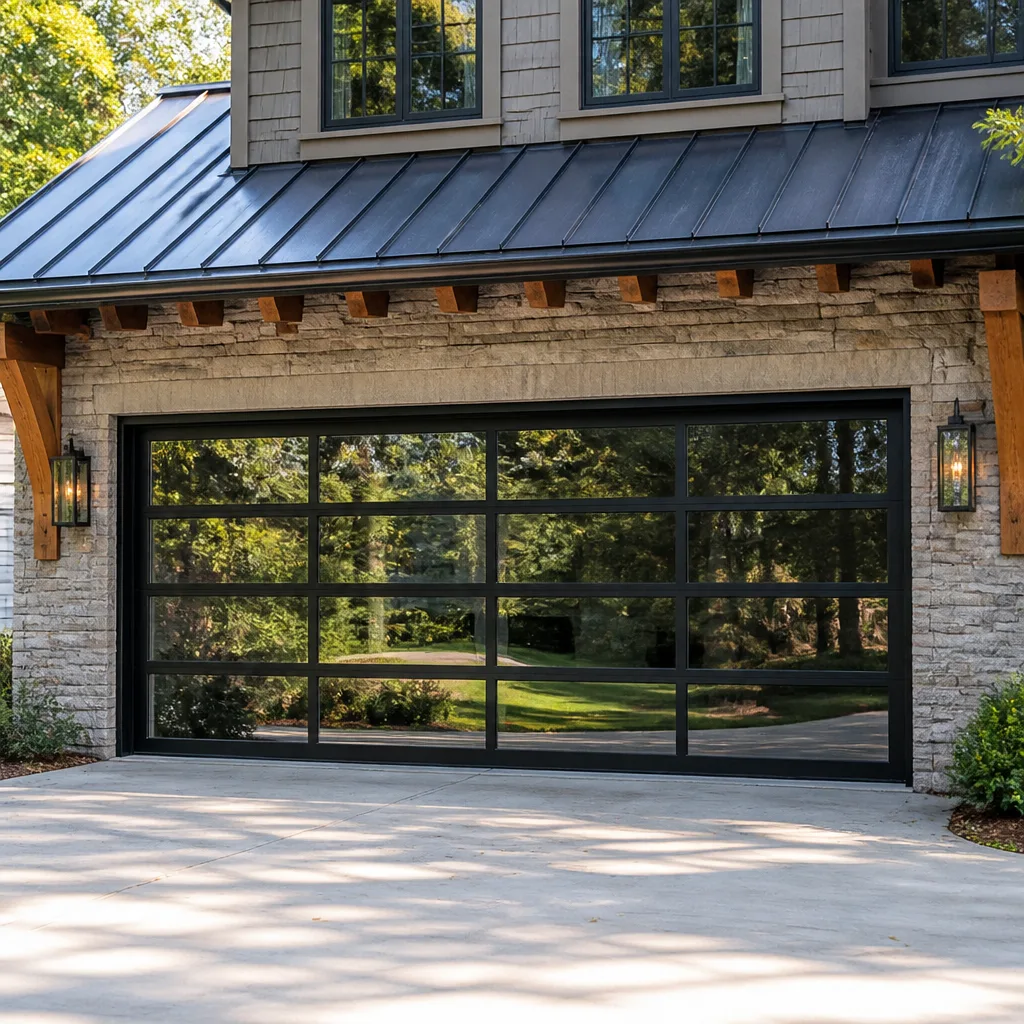 Full-view glass
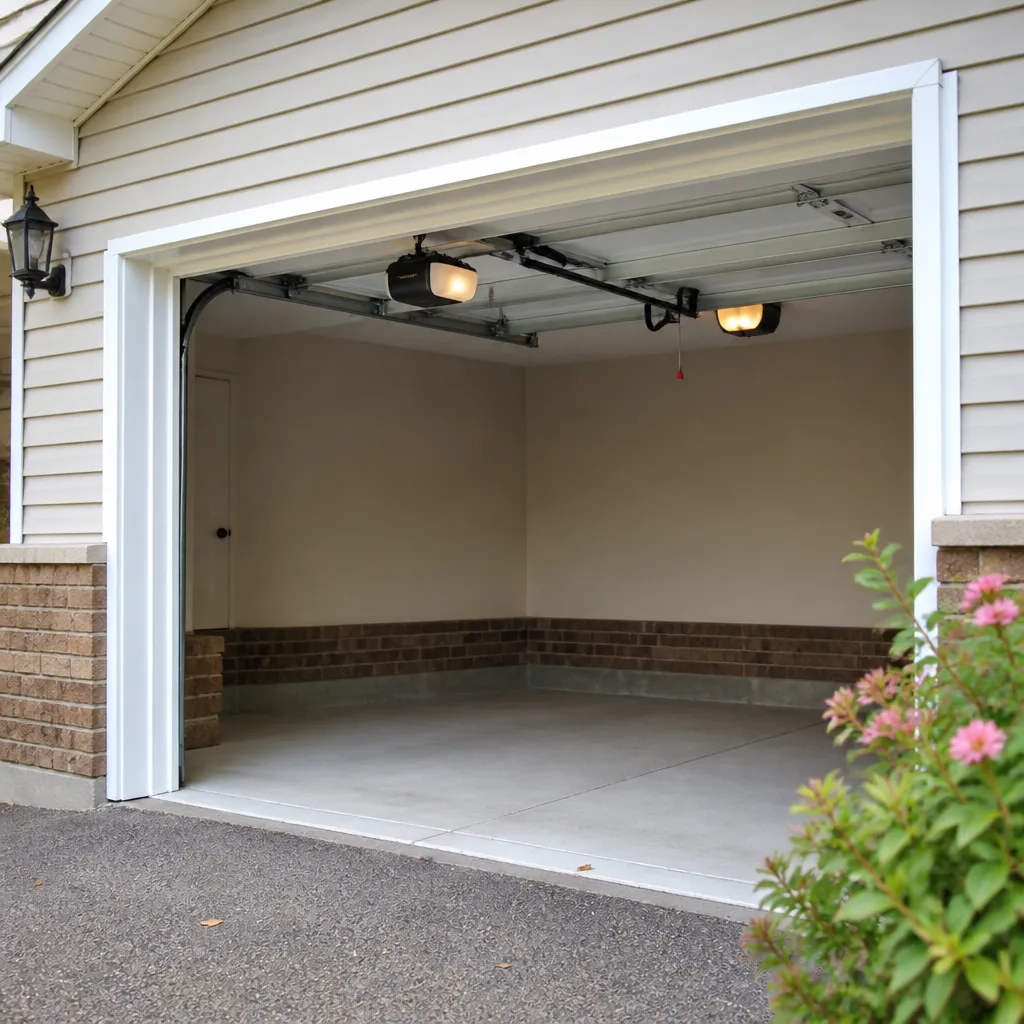 LiftMaster openers
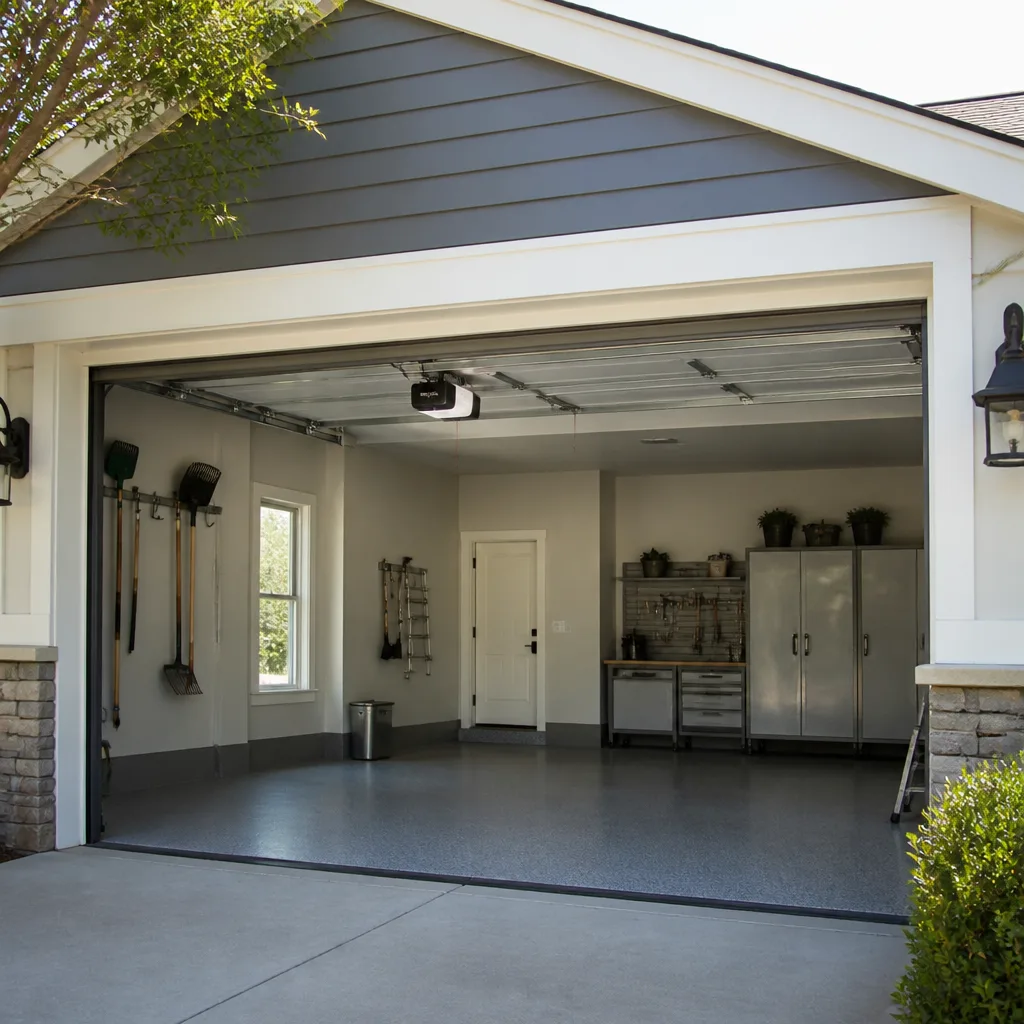 Chamberlain openers
Full 25-point door and opener safety check with every visit - springs, cables, rollers, tracks, and your LiftMaster or Chamberlain opener included
You get a price before we start. It does not change when the pro arrives.
Get your free estimateDIY vs Professional Garage Door: The Throggs Neck Homeowner’s Decision Guide
Most people assume the DIY-or-pro question is about skill. It isn’t. It’s about which specific jobs carry stored energy that can hurt you and which ones are genuinely simple enough that paying someone is a waste. A torsion spring holds 150 to 200 pounds of torque. Professionals use winding bars not because you lack dexterity, but because if a bar slips, the metal goes through drywall at speed. This guide breaks garage door work into three buckets: do it yourself, call us, and never touch it. We’ll cover what’s safe, what isn’t, how to think about the cost of your own time in the Bronx, and what you can do before a technician arrives to keep the bill down. Throggs Neck homeowners deal with the same doors and openers as the rest of the borough, and the decisions here apply to all of them.
Quick Answer
Lubrication, bottom seal replacement, safety sensor alignment, and learning your manual release are all reasonable DIY jobs for a careful homeowner. Torsion spring winding, cable drum adjustment, and full door balancing are not: the stored energy makes a slip dangerous even for experienced people. Everything in between, including opener control board and logic board work, usually comes down to your time versus a written estimate.
Styles & brands we work with
- Raised-panel steel
- Carriage house
- Modern flush
- Full-view glass
- LiftMaster openers
- Chamberlain openers
Table of Contents
- The Three Buckets: Safe, Risky, and Never DIY
- What a Careful Homeowner Can Safely Do
- The Jobs That Should Never Be DIY
- The Math: When DIY Time Costs More Than Labor
- What to Do Before the Technician Arrives
- Where a Quick Fix Voids a Manufacturer Warranty
- Why Brand Knowledge Matters More Than Tools
- Common Mistakes to Avoid
- When to Call a Professional
- Frequently Asked Questions
The Three Buckets: Safe, Risky, and Never DIY
Every garage door task falls into one of three categories, and sorting your problem into the right one is the whole decision. The line isn’t how hard the job looks. It’s how much stored energy is involved and whether a mistake fails quietly or violently.
- Bucket one: safe for a careful homeowner. Lubrication, seal replacement, sensor cleaning and alignment, and operating the manual release.
- Bucket two: safe to diagnose, not to fix. Opener logic boards, remotes that stop responding, doors that reverse for no visible reason. You can observe and describe the symptom; repair usually needs the right parts.
- Bucket three: never DIY, no matter your experience. Torsion spring winding and adjustment, extension spring replacement, cable drum adjustment, and balancing a door on its tracks.
The reason the buckets matter is that garage doors fail in two very different ways. A misaligned sensor just stops the door, and it stops it safely. A spring under load doesn’t fail quietly. It releases everything it was holding at once. When we talk to homeowners in Throggs Neck about a door that won’t lift, the first question is whether the spring is intact. If it’s broken, the door is dead weight and needs a specialist, which is why we treat garage door repair as a separate discipline from routine maintenance.
What a Careful Homeowner Can Safely Do
These four jobs don’t touch anything under tension, don’t require specialized tools, and don’t risk injury if you use basic care. Doing them yourself keeps money in your pocket and extends the life of the door.
- Lubricate the moving parts. Tracks, rollers, hinges, and the torsion shaft bearings take a garage-door lubricant, not WD-40. Once or twice a year, working the product into the hinge pivot points and wiping the tracks clean, is enough. Most of the noise complaints we hear come down to dry rollers.
- Replace the bottom seal. The rubber flap along the bottom edge wears with foot traffic and weather. It slides or pulls out of the retainer on most panels, and a replacement from any hardware store costs little and installs in under an hour. A torn seal lets water and cold air into a Bronx garage all winter.
- Clean and align the safety sensors. The two small eyes near the floor, one on each side, need to see each other. Wipe the lenses, check that both are aimed straight across, and check for anything blocking the beam. A door that closes partway and reverses is nearly always a sensor problem, not a broken door.
- Understand and use the manual release. Every door has a red handle on a cord that disconnects the opener from the door. Know where yours is and how to pull it. If the opener fails or the power goes out, pulling it lets you open the door by hand. Never pull it while the door is up. Only pull it with the door fully closed.
Those four tasks cover a surprising share of what looks like a repair call. A good number of the doors we look at in Throggs Neck turn out to need a cleaned sensor or a new seal, not a new component.
The Jobs That Should Never Be DIY
We’re not being protective of our trade when we say this. Torsion spring work, cable work, and door balancing carry a real risk of serious injury because the energy stays stored in the system until it’s released safely. Even trained technicians work these jobs with a specific set of tools and a specific sequence, and they don’t skip steps.
Here’s what makes each one dangerous:
- Torsion spring winding. The spring above the door is wound to a specific number of turns and held by two winding bars inserted into the cones. If a bar slips or is inserted wrong, the spring releases one bar’s worth of torque at once. That’s the drywall story from the top of this page. Nobody needs that experience in their garage.
- Extension spring replacement. These stretch along the horizontal tracks on older doors. They fail the same way, and a released extension spring whips back along the track. Even the replacement process needs the door fully down and the tension handled with care.
- Cable drum adjustment. The lift cables are under the same tension the springs create. A cable that comes free of the drum can whip and cut. Setting a drum requires the drum to be in the right groove with the correct number of wraps, and that’s not a judgment call you can make from a video.
- Door balancing. After spring replacement, the door must be balanced so it opens and closes with even force. Out-of-balance doors strain the opener motor and load the springs unevenly. Getting it wrong is the fastest way to break a brand-new spring.
This is the core of why we run spring repair as its own service rather than as part of general door work. It’s the most mechanically demanding job in the trade. Our technicians have up to 11 years of experience, and spring work is where that experience matters most.
The Math: When DIY Time Costs More Than Labor
The question isn’t whether you can afford a technician. It’s whether the time you’d spend on the job is worth more than the labor portion of a quote. For most Bronx homeowners, the honest answer depends on the task. A bottom seal you replace yourself saves real money. A control board you swap on a LiftMaster or Chamberlain opener after two hours of searching forums is a different calculation.
Here’s a rough way to think it through, without inventing local wage numbers. Bronx household incomes sit well above the state average, so if you value your free time at anything close to your hourly rate, a job that takes you half a day of research and three trips to the hardware store is often cheaper done by us.
- Estimate your hours honestly. Not just the repair time. Add the research, the parts search, the trip to the store, and the second trip after the first part is wrong.
- Estimate your risk of a redo. A sensor alignment you fix in ten minutes is a win. A cable drum you get close on is more likely to need a professional visit after the fact.
- Compare against the labor line of a written estimate. Ask for the estimate and look at what the labor portion actually is, separate from the part. Our estimates are free and written, so you can make that comparison before you decide.
- Check the warranty question. A DIY fix that touches the opener’s internal electronics can affect your manufacturer warranty in ways a licensed repair doesn’t. That’s a cost most people forget to price in.
In our experience, the jobs that favor DIY are the four safe tasks above. Everything that touches a spring, a cable, or a control board is usually a professional visit, and the math agrees more often than homeowners expect.
What to Do Before the Technician Arrives
You can cut billable time without touching anything under tension. The more information you have ready, the less time a technician spends diagnosing and the more time they spend fixing.
- Write down the door and opener brands. Clopay and Amarr print their tag on the door panel. LiftMaster, Chamberlain, Genie, and Craftsman put theirs on the opener motor housing or the wall console. Take a photo with your phone and keep it handy.
- Note exactly what happens and when. Does the door open partway and reverse? Does the opener hum without moving? Does it close and then reopen? Each of those points in a different direction. Write it down.
- Check which side failed. If only one side of the door lifts unevenly, or only one sensor blinks, that narrows the diagnosis.
- Clear the area around and under the door. Tools, stored items, and anything leaning against the tracks slows the job. Clear them before the visit.
- Do not touch the springs or cables. Full stop. Describe what you see; don’t try to adjust anything to see if that fixes it.
- Pull the manual release only if you’ve already done it safely. If the door is stuck open and you can’t secure it, leave it and tell us on the call.
None of this touches the dangerous hardware, and all of it helps. Preparation is the one part of a garage door repair a homeowner can legitimately do.
Where a Quick Fix Voids a Manufacturer Warranty
A DIY fix can cost you warranty coverage on the parts you own, and the risk is highest on newer doors and openers. Manufacturers design their warranty language around repairs being performed by trained technicians using approved parts. The moment a homeowner opens the electronics or pushes a component past its spec, the burden of proof shifts.
The specific scenarios to avoid:
- Opening an opener’s control board or logic board. Removing the housing on a Genie or Chamberlain opener can affect the warranty on the electronics, since the manufacturer can’t distinguish a factory defect from a homeowner’s repair. If the board is the problem, that’s a professional call.
- Adjusting limit switches beyond the specified range. If you move the up or down limit too far, the door travels past its intended stop and stalls against the header. That’s damage to the opener’s drive system, and it’s rarely covered.
- Replacing a spring with a component that doesn’t match the door’s original spec. Undersized or oversized springs load the door incorrectly, and the manufacturer can decline a claim on the door’s hinges and panels if the springs were wrong for the door.
- Making a hole or cutting a panel for a non-standard part. On a Clopay or Amarr door still under warranty, any cut or modification to the panel is usually excluded.
- Trying to force the door after it has reversed. Continuing to cycle a door that’s binding can bend the top panel or the track, and none of that gets reapplied to the warranty once it’s damaged.
If your door or opener is still within its warranty window, the cheapest fix on paper can be the most expensive one in practice. We’d rather you ask than find out later.
Why Brand Knowledge Matters More Than Tools
Half of a garage door repair is knowing the specific hardware in front of you. A LiftMaster opener and a Chamberlain opener are closely related, but their logic boards and safety sensor formats differ in ways that change the diagnosis and the parts order. A Genie opener uses a different drive system entirely, and a Craftsman’s wall console may behave differently from either.
On the door side, a Clopay panel and an Amarr panel may look identical from the street and take completely different hinge and roller hardware. This is the part of the job that a generalist can’t shortcut. We work on your brand, and that includes the common ones you’ll find on Throggs Neck driveways: LiftMaster, Chamberlain, Genie, Clopay, Amarr, Wayne Dalton, Craftsman, and Raynor. That covers the large majority of what’s actually out there.
What that means in practice:
- Correct parts on the first visit. The right sensor, board, or spring for your brand means the repair doesn’t need a second trip.
- Correct diagnosis. A door that reverses with a Genie opener often has a different cause than one that reverses with a LiftMaster.
- Correct warranty handling. Brand-specific repair practices keep you inside the manufacturer’s terms rather than outside them.
If you’re unsure what you have, the brand is usually tagged on the back panel of the door or the side of the motor. On a call, that one word turns a general diagnosis into a specific one. That’s also why we keep garage door opener repair and door repair under the same roof rather than splitting them.
Common Mistakes to Avoid
- Using the wrong lubricant on the springs and tracks. WD-40 and general household oil attract dust and gum up the rollers. A garage-door-rated spray or a small amount of white lithium grease on the hinges and bearings is what works.
- Pulling the manual release with the door open. If the door is up when you pull the red handle, it can drop fast. Only pull it with the door fully down.
- Fixing a sensor by bending the bracket. Pushing the bracket by hand can point the eye at the wrong angle and create a new problem. Loosen the nut, aim the sensor, and tighten it back down.
- Buying a generic spring from a hardware store. Springs are sized to the door’s weight and height. A mismatched spring will fail early or hold the door unevenly, even if it fits on the torsion bar.
- Ignoring a slow change in operation. A door that’s been getting slower, louder, or heavier for a month is telling you something. A sticking door in Throggs Neck often turns into a broken spring if it’s left through the next cold snap.
- Replacing a door panel without checking the model line. Panel profiles change between production runs. A new panel that doesn’t match the rest of the door is usually the start of a bigger job.
- Trying to diagnose through the manufacturer’s app when the hardware itself is the problem. The app will tell you the opener is online. It won’t tell you a cable has come loose, which takes eyes on the door.
When to Call a Professional
Call a professional when the door won’t move at all, when you see a broken spring, when one side of the door lifts and the other doesn’t, or when the opener makes noise and the door doesn’t move. Those four situations involve stored energy or internal electronics, and both carry risk to you and to the door. The same goes for a door that has come off its track or is hanging visibly uneven. We’ve seen enough homeowner attempts turn a single repair into a bigger one that we’d rather talk it through than have you guess.
Garage Door Repair Throggs Neck offers free estimates in Throggs Neck – call (877) 792-6871. We answer 24/7. Fast dispatch from 7am to 7pm, Sunday through Friday. When your door fails, we’re ready, and we’ll tell you honestly which of those three buckets your problem falls into.
Frequently Asked Questions
No. Torsion spring replacement requires winding the spring to a specific tension with two winding bars, and the spring holds 150 to 200 pounds of stored torque while you do it. A slip without the right tool and technique can cause serious injury. It’s the one garage door job we strongly recommend against doing yourself under any circumstances.
Extension springs stretch along the horizontal tracks, and torsion springs sit on a bar above the door. Both store the door’s weight as tension, and both are dangerous to work on. Extension springs are more common on older doors, and they can be replaced, but the release risk is the same and the door must be fully closed before anyone touches them. Neither is a DIY job.
Check the side or back of the motor housing for a label with the brand and model. LiftMaster and Chamberlain are made by the same manufacturer, so the housings look similar, but the model number on the label is what identifies the correct parts. If the label is worn off, a photo of the opener is enough for us to identify it on a call.
Clean and align the safety sensors, clear the area under and around the door, and note your door and opener brands plus exactly what the door does when it fails. Do not touch the springs, cables, or the inside of the opener housing. Those are the parts that can hurt you, and describing them is enough.
Start with a specialist who handles both doors and openers and can name the brands they work on. General handyman services typically can’t service opener electronics or torsion springs. We cover LiftMaster, Chamberlain, Genie, Clopay, Amarr, Wayne Dalton, Craftsman, and Raynor, so there’s a good chance we’ve worked on your exact door and opener before.
It can. Opening the opener’s electronics, modifying a door panel, or fitting a spring that doesn’t match the door’s original spec can all affect warranty coverage. If your door or opener is still within its warranty window, ask before you touch it, and let a trained technician handle anything that involves the internal hardware.
The Bottom Line
Garage door work breaks cleanly into three buckets. Lubrication, seal replacement, sensor alignment, and knowing your manual release are genuinely doable yourself. Spring winding, cable work, and balancing are never doable yourself, because the stored energy makes a mistake dangerous. Everything in between comes down to whether your time is worth more than the labor line on a written estimate. Get the estimate and compare. If the door is under warranty, get a professional opinion before you touch it. For a broken spring, a stuck door, or an opener that won’t respond, that’s not a math problem. Call (877) 792-6871 for a free estimate. We answer 24/7. Fast dispatch from 7am to 7pm, Sunday through Friday, and we’ll tell you which bucket you’re in before you commit to anything.
Written by the team at Garage Door Repair Throggs Neck.
See the difference
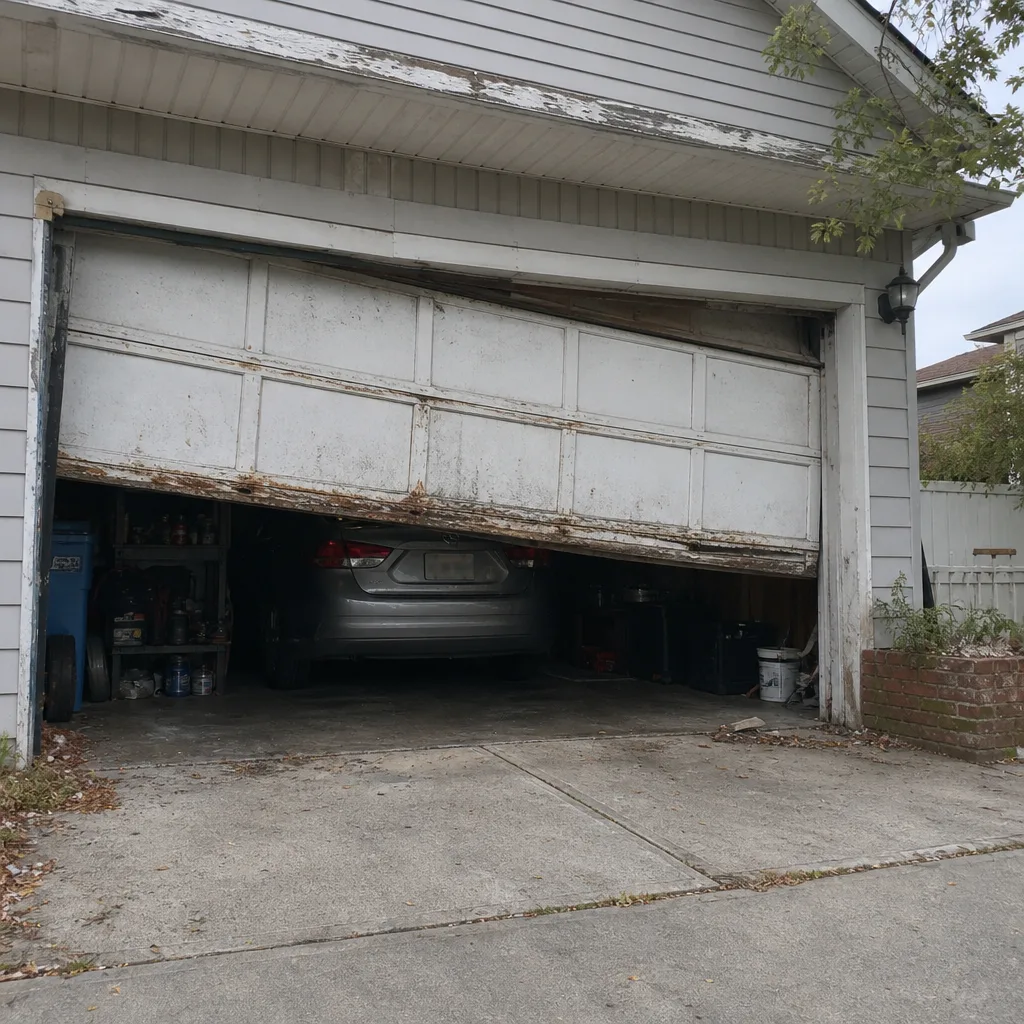 Before
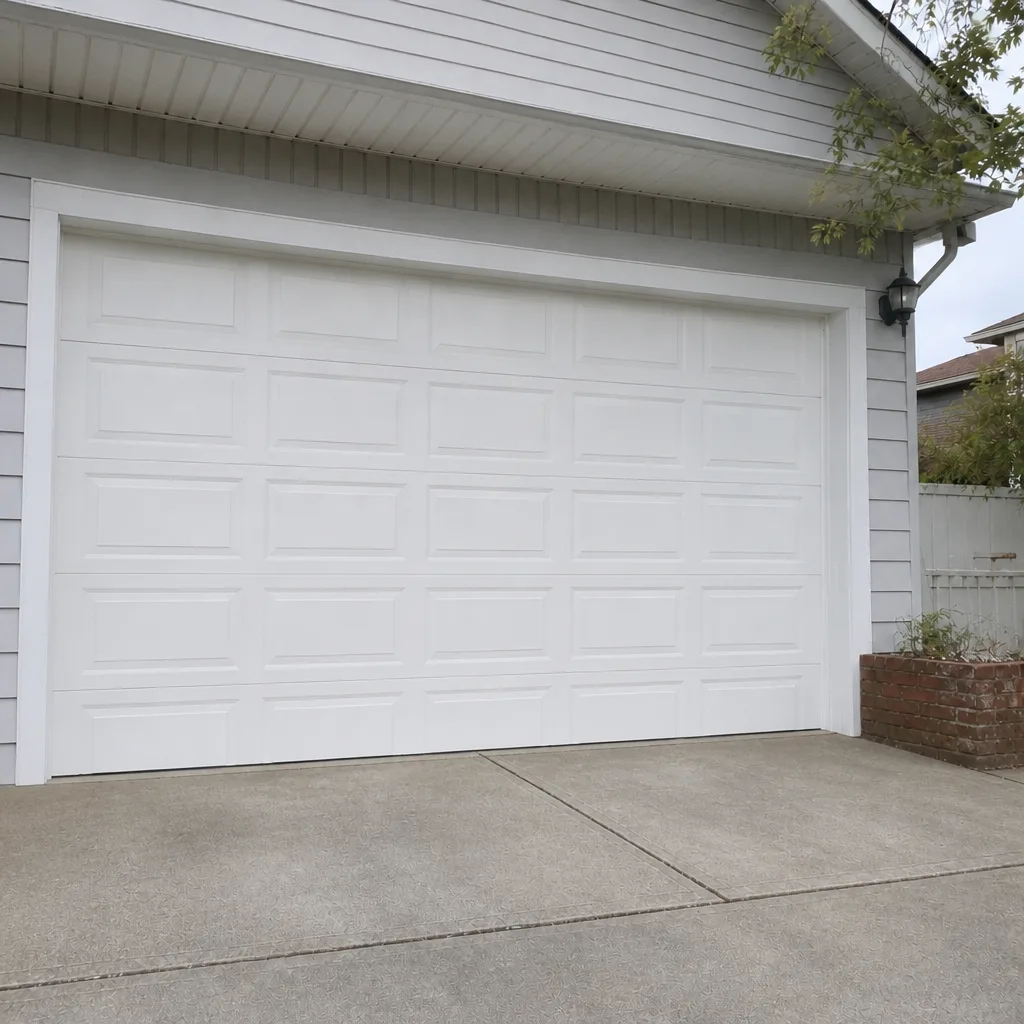 After
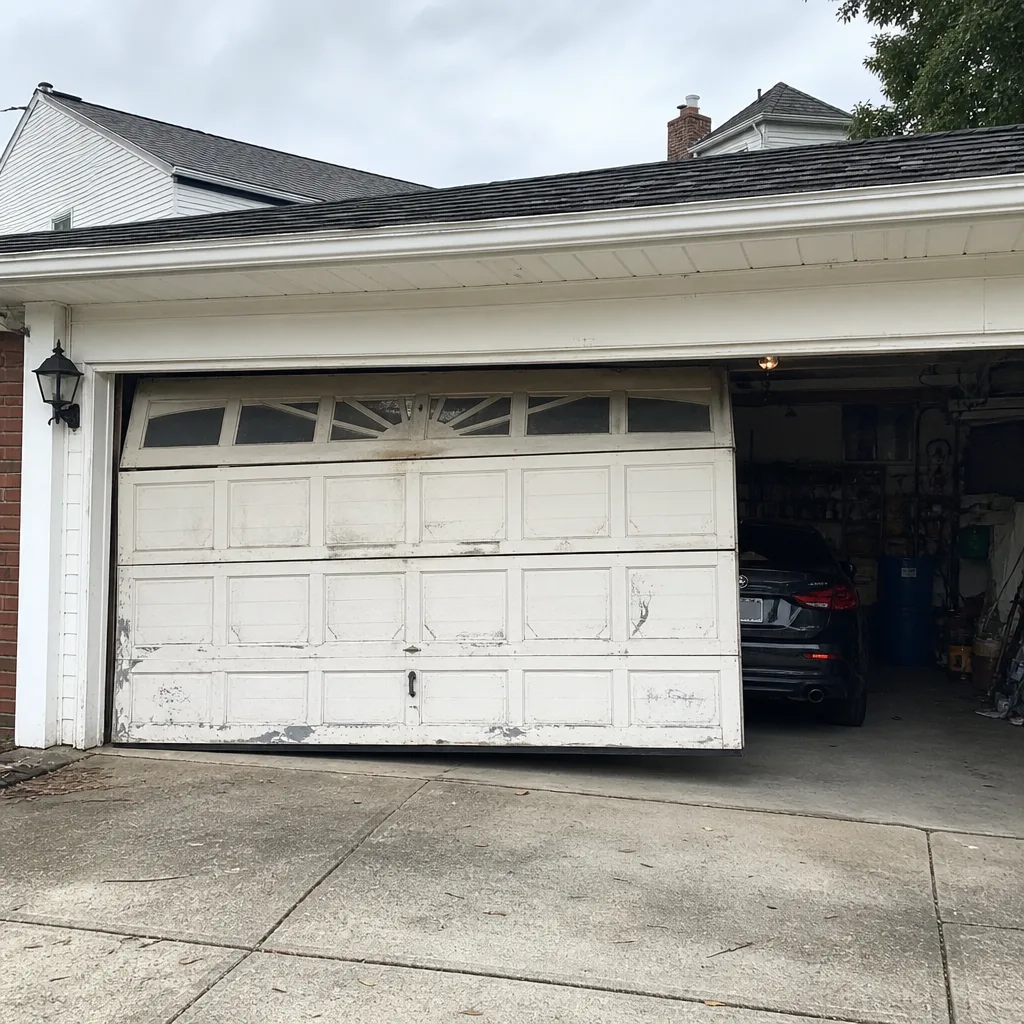 Before
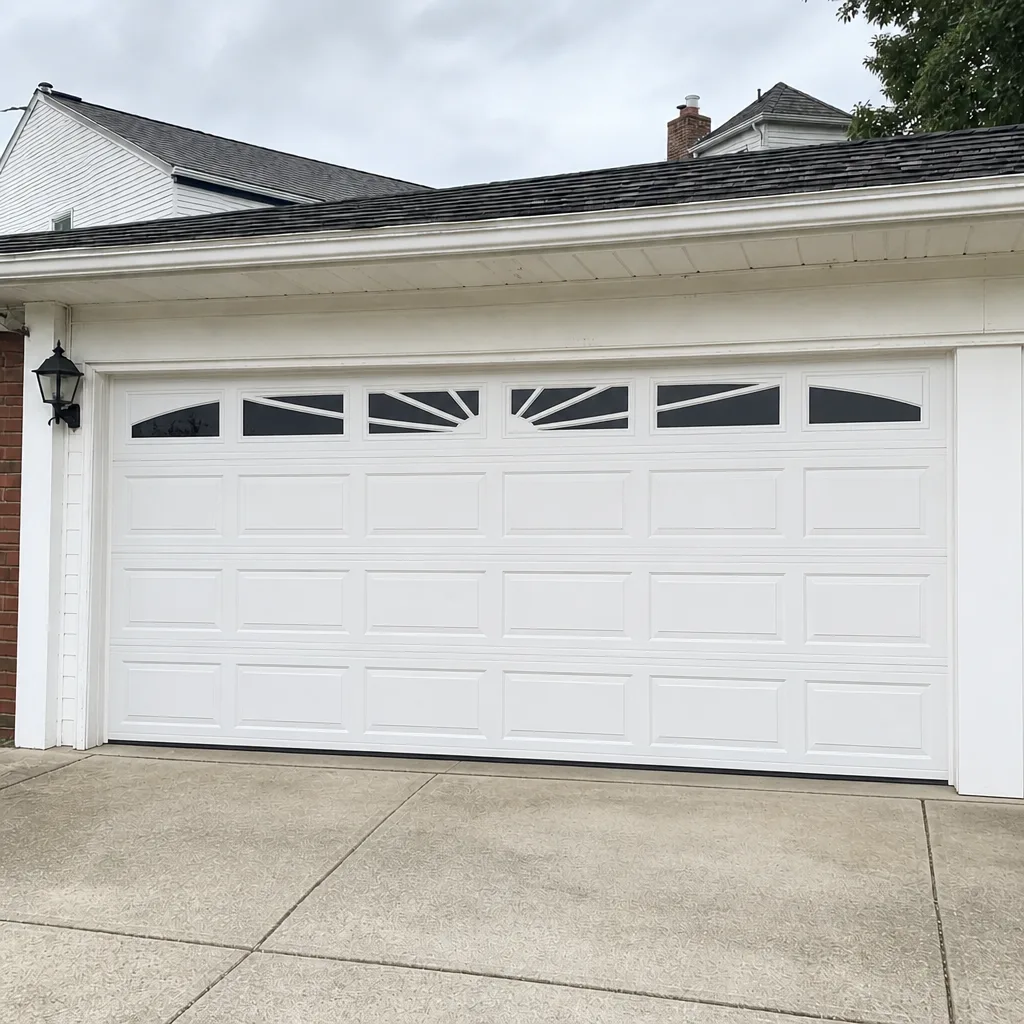 After
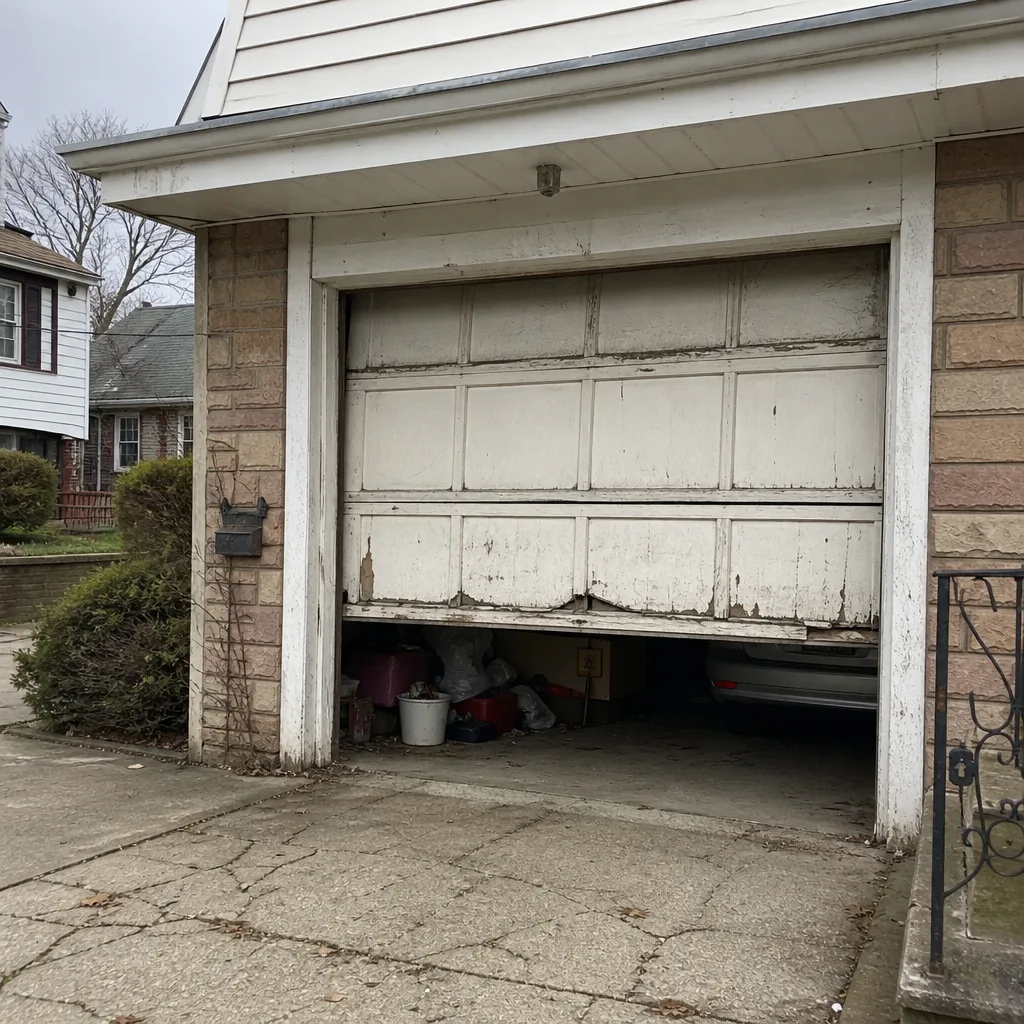 Before
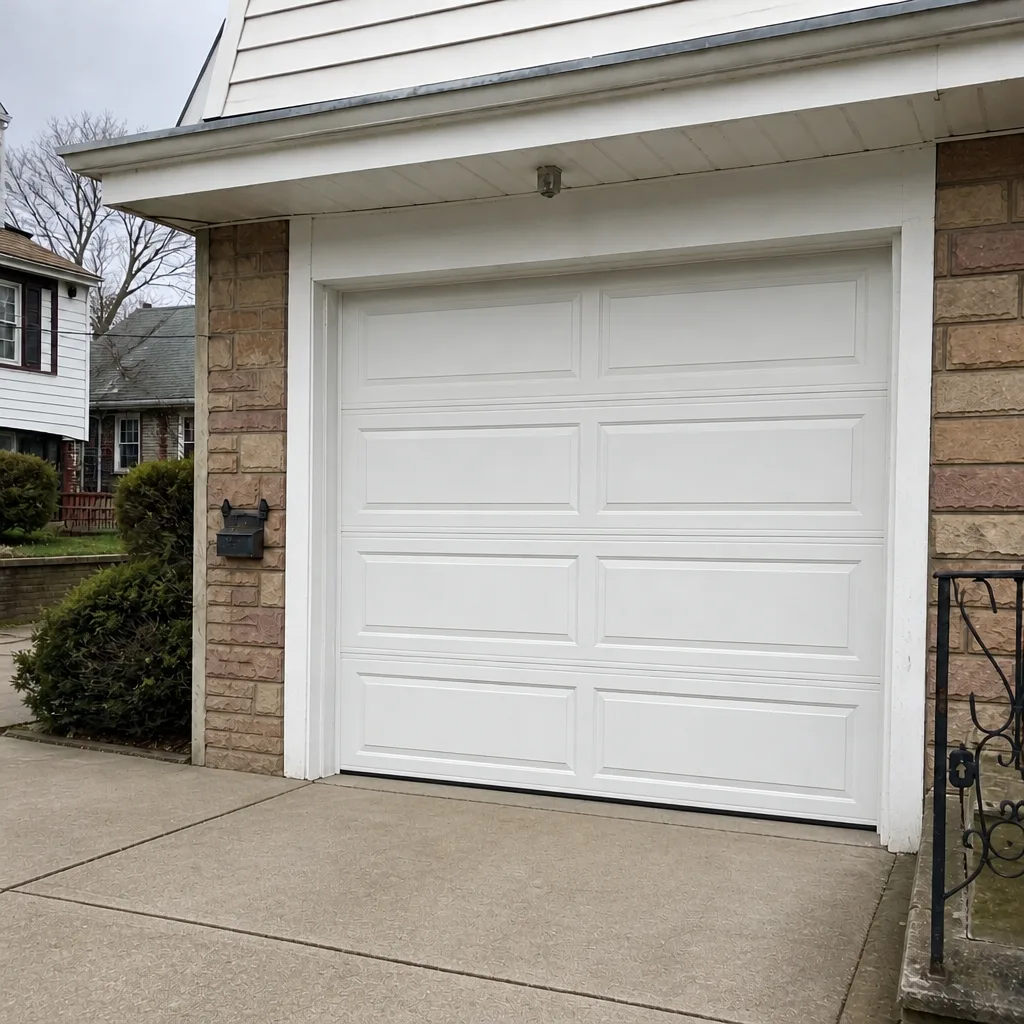 After